Explore a scope and request a reviewed quote. Coastal confirms service availability, qualified trade partners, site conditions and final pricing before a proposal.

SIDING, TRIM & WEATHERPROOFING

Exterior trim

Install or replace exterior trim around openings, corners and transitions with a consistent profile. Material selection includes joint movement, flashing connections and a finish suited to exposure.

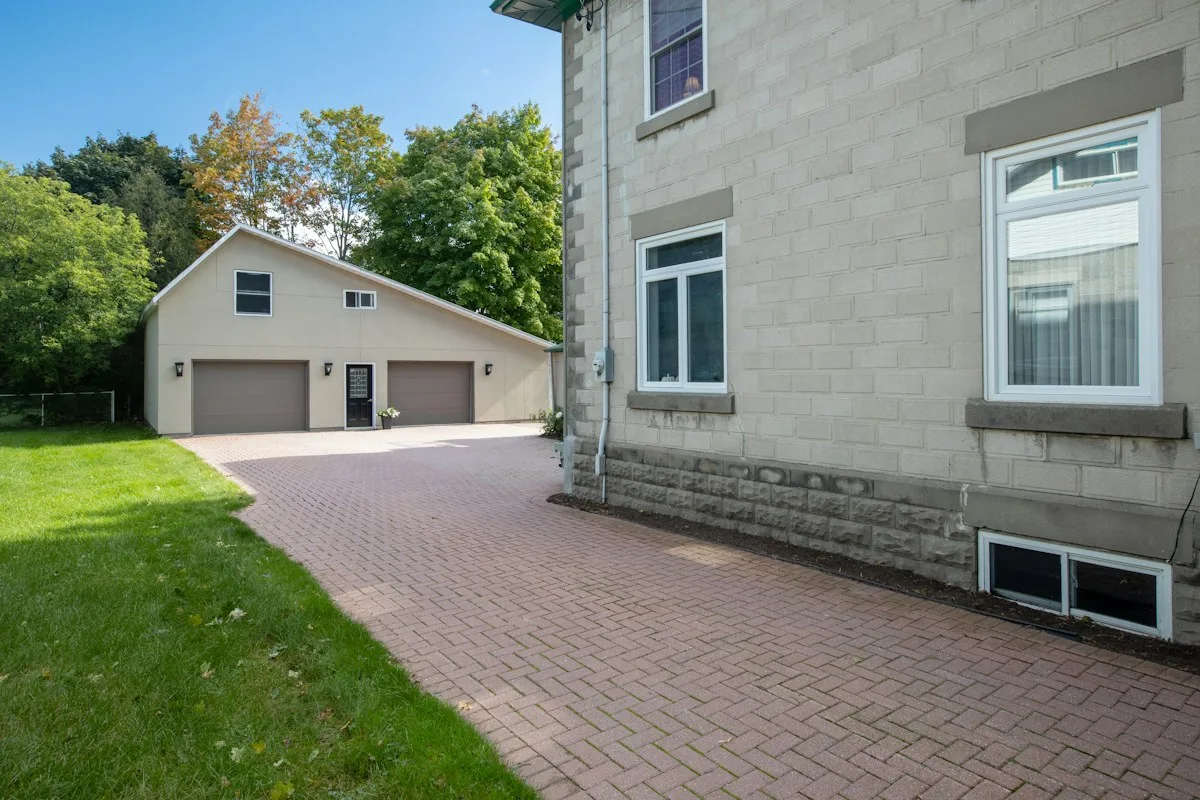
House exterior and paved driveway
Point3D Commercial Imaging Ltd. · Unsplash License Stock reference photograph; not a Coastal project or specified product.

START WITH THE DETAILS

What goes into
the work.

Measure each exterior wall and subtract openings. Record trim, gutters and sealant joints by length, plus height and access.

Typical scope to confirm

  • Measure trim runs and confirm profile dimensions
  • Prepare sound attachment surfaces
  • Install specified boards and mouldings
  • Complete compatible joints, fasteners and finish preparation

Make it specific to your project.

Enter the amount of work and choose the details you know. Your choices follow you into the Project Builder.

LOW / MIDDLE / HIGH REFERENCE

Low$6per linear ft
Middle$10.50per linear ft
High$15per linear ft

Low and high are published reference endpoints. Middle is their arithmetic midpoint, not a quoted average, product tier or firm price.

A planning reference for this service only. Selections, local labor, access, quantities and existing conditions need Coastal’s review. Do not add overlapping whole-project and component ranges.

Angi · research checked 2026-10-22 · US national · installed

Continue with these selections ↗

What changes the price

  • Linear footage and board width
  • Wood versus polymer or fiber cement
  • Custom profiles and miters
  • Access and finish preparation
What the reference covers
  • Trim material and installation
Allow for these separately
  • Structural rot repair
  • Whole-house repainting
  • Window or siding replacement outside trim scope
  • Custom millwork
  • Structural repair
  • Unspecified painting

KNOW WHAT COMES NEXT

From first idea to finished work.

  1. Plan the scope

    Measure profiles and review attachment and water exposure.

  2. Prepare and approve

    Confirm materials, access and concealed-condition allowances.

  3. Complete the work

    Install or repair the selected system with coordinated flashing and seals.

  4. Review and close out

    Review joints, drainage and finish continuity; explain maintenance.

Planning & preparation
1–6 weeks
Work on site
1–8 working days

Illustrative planning allowance for the stated scope, not a promised start or completion date. On-site time starts after approvals and materials are ready; procurement, inspection waits, curing and discoveries can extend the calendar.

Elevation and access · Rot or damaged sheathing · Weather and finish cure

PERMIT PLANNING

Check the scope and jurisdiction

Permit needs depend on the work and property address. OKC and Edmond review structural alterations; Moore requires permits for most remodels. Confirm finish-only exceptions and any separate trade permits.

  • Changes to walls, structure or building use
  • Electrical, plumbing or HVAC changes
  • Work within a floodplain or historic district

ENGINEERING & DESIGN

Engineering is not usually needed

Engineering is not usually part of this finish-only scope. Stop for review if hidden damage, structural changes or unusual support loads are found.

  • New structural work or damaged framing
  • Unverified heavy-load support

Confirm requirements with the city or county responsible for the property before work begins. The address, exact scope and adopted code determine the final requirements.

Local permit & engineering sourcesOklahoma City — building and trade permits ↗ Edmond — when a permit is needed ↗ Moore — building permits and inspections ↗ Edmond — residential alteration checklist ↗

MAKE IT FIT YOUR HOME

Your starting options.

Compare the scope before choosing products. Any direction can be refined with Coastal.

03

Polymer trim

Review a compatible polymer assembly with material-specific fastening and paint limits.

Plan this option

MATERIALS & DETAILS

Find your finish.

These original swatches show a general visual direction. Confirm a physical sample, exact finish code and product compatibility before ordering.

Trim palette — illustrative selections

Illustrative dark bronze finish

Dark bronze

Deep accent direction; dark colors may be restricted by the trim manufacturer.

Use this direction

PRODUCT RESEARCH

Brands & real-world examples.

Manufacturer references help compare options. They do not imply a Coastal dealership, endorsement, or a product selected for your project.

AZEK

Exterior polymer trim and moulding.

Explore example photos

Open the original source for product and installation imagery. These are reference links, not Coastal project photographs.

YOUR PROJECT, VISUALIZED

Choose a direction.
See it in your space.

Start with common exterior trim options, personalize the details, then upload a photo to create an AI concept.

Flat board trim

Create simple, consistent borders and corners.

  • Profile: Flat trim
  • Custom product, finish code, or request: Flat board trim. Finish direction: Soft white. Create simple, consistent borders and corners.
Use this look

Decorative profile

Use selected moulding at heads, sills or other accents.

  • Custom product, finish code, or request: Decorative profile. Finish direction: Warm gray. Use selected moulding at heads, sills or other accents.
Use this look

Polymer trim

Review a compatible polymer assembly with material-specific fastening and paint limits.

  • Material: PVC trim
  • Custom product, finish code, or request: Polymer trim. Finish direction: Dark bronze. Review a compatible polymer assembly with material-specific fastening and paint limits.
Use this look
House exterior and paved driveway
Point3D Commercial Imaging Ltd. · Unsplash License Stock reference photograph; not a Coastal project or specified product.

FROM INSPIRATION TO YOUR SPACE

Your home. This direction.

The example photo is inspiration. Your personalized concept applies your saved service and finish selections to the photo you upload.

  1. Choose a preset and adjust its selections.
  2. Add a photo of the room or area.
  3. Create a concept, compare it, and keep it with your project.
Open the visualizer

AI concepts are illustrations. Product matches, measurements and feasibility require Coastal’s review.

YOUR NEXT STEP

Bring it into your plan.

Keep rooms, measurements and choices together in the Project Builder.

Related scopes

Research sources & pricing notes

Reviewed 2026-10-23. Published ranges describe the source’s stated scope and geography; they are not an Oklahoma adjustment or a Coastal estimate. Do not add overlapping project ranges together.

Stock photograph license · Finish swatches and scope diagrams are original illustrations.

Harbor

Coastal’s AI project consultant

Ready to help
Coastal Construction
Optional voice conversation

Speak or type; Harbor answers aloud. Your microphone stays off until you choose voice.

Service guide · prepared Coastal answers
AI chat uses your messages and selected project details; optional voice uses audio. OpenAI processes these when AI is used. An inquiry is sent to Coastal only when you submit it.

Talk to a person
Call now · 405-872-6050